From Corks to Crafts: 5 Fun and Easy Wine Cork Projects, You'll Love!
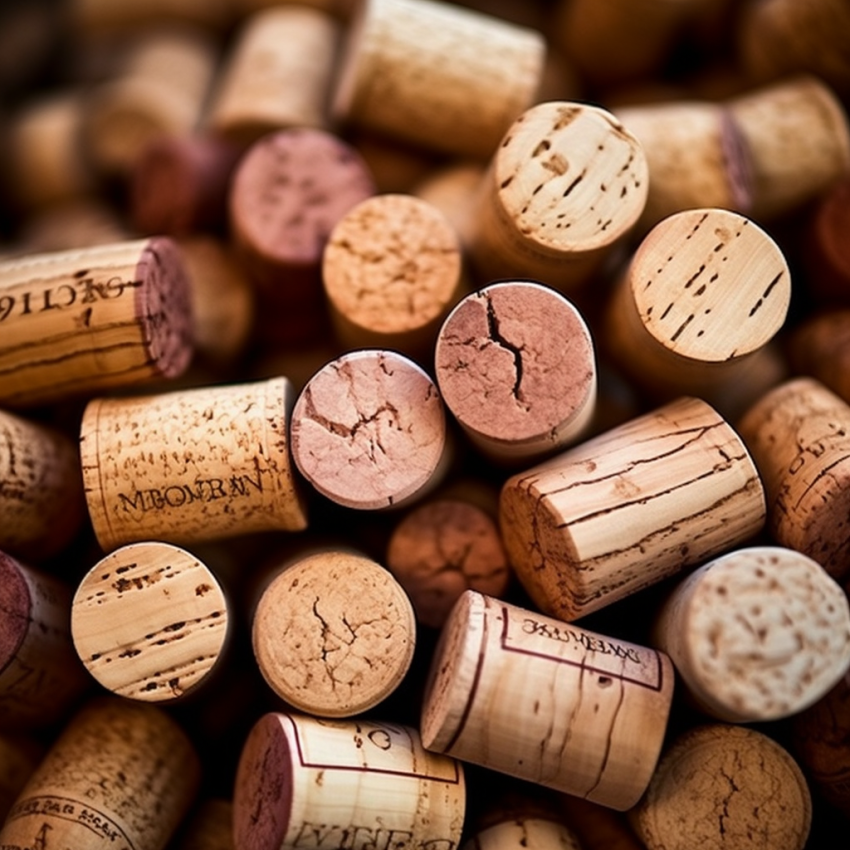
Have you ever looked at a wine cork and thought, "I bet I could make something cool with this!? Well, you're in the right place!
We've got many wine corks lying around too, and we've decided it's time to get crafty. From the simplest bulletin board to the most charming keychains, we've put together fun and creative ways to turn those wine corks into amazing home decor.
No need to be a crafting genius; we've got step-by-step guides to help you along. So grab a glass of your favorite vino, collect those corks, and have some crafting fun together.
Cheers to creativity!
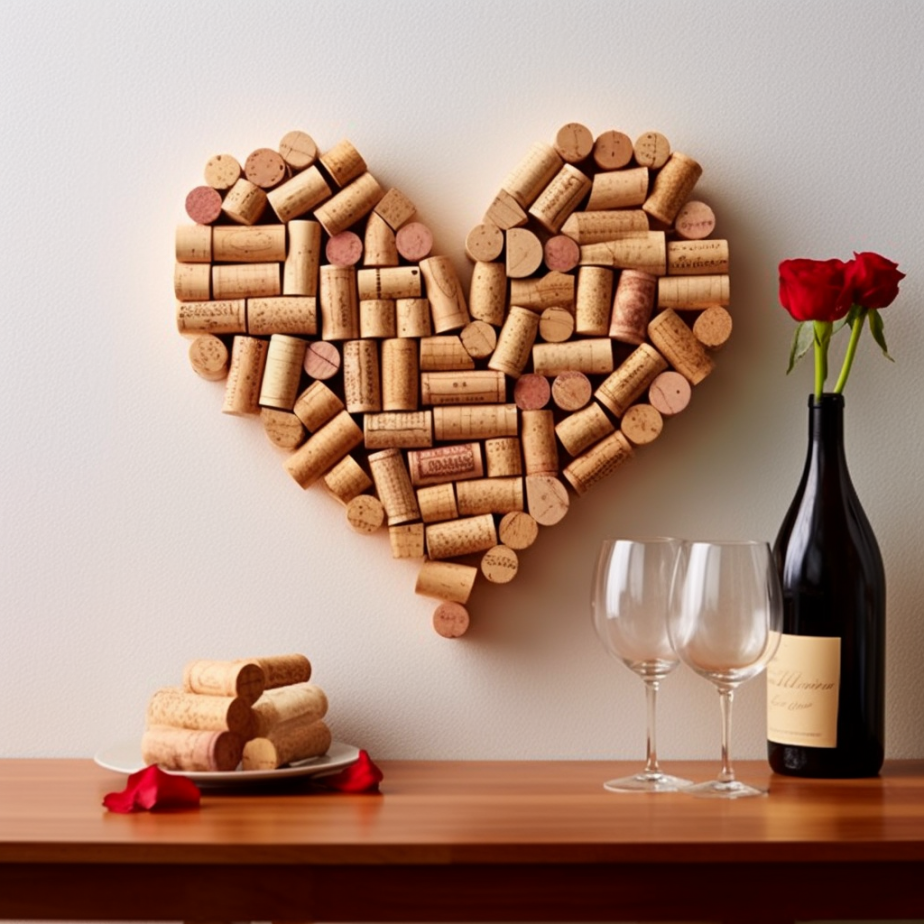
Wine Cork Bulletin Board
Are you tired of ordinary bulletin boards? Transform your wine corks into a functional masterpiece that not only organizes your notes but adds a touch of elegance to your space.
Imagine this bulletin board in your kitchen, holding family recipes, or in your office, showcasing your to-do lists with sophistication.
Let's make it happen!
Step 1: Gather Your Materials
Wine corks (as many as you need to fill your frame)
A picture frame (size of your choice)
Strong adhesive glue
A cutting knife (optional if you want to cut corks)
A piece of cardboard or thin wood (to fit the frame)
Step 2: Prepare the Corks
You can cut the corks in half lengthwise if you want a more uniform look. Or keep them whole for a more rustic feel.
Arrange them to see how they fit best within your frame.
Step 3: Glue the Corks
Glue the cardboard or thin wood to the back of the frame.
Apply the adhesive to the flat side of each cork (or the cut side if you halved them) and press them onto the cardboard in your desired pattern.
Step 4: Let It Dry
Let the glue dry according to the instructions on the bottle.
Step 5: Hang or Use Your Bulletin Board
Once dry, your wine cork bulletin board is ready to hang or lean against a wall.
Use it to pin notes, photos, or even your favorite wine labels.
Where to Use:
Whether it's gracing the walls of your personal wine cellar, adding charm to your kitchen, or giving your workspace a refined edge, this wine cork bulletin board is more than just a place to pin notes. It's a conversation starter, a piece of art, and a daily reminder of enjoyable wine experiences.
Wine Cork Miniature Planters
Looking to bring a touch of nature into your home with a wine-lovers twist? Wine cork miniature planters are a delightful way to simultaneously display your love for wine and greenery.
Picture these little planters on your windowsill, each one sprouting a tiny succulent or herb. They can breathe life into your kitchen or make your office desk more pleasant.
Let's dig into this charming project!
Step 1: Gather Your Materials
Wine corks (one for each planter)
A small knife or screwdriver for hollowing
Soil or potting mix
Small succulents, herbs, or seeds
A small dropper or spoon for watering
Step 2: Hollow Out the Corks
Carefully use the knife or screwdriver to hollow out the center of the cork, leaving enough space to plant.
Step 3: Fill with Soil
Add a small amount of soil or potting mix into the hollowed-out cork.
Step 4: Plant Your Greenery
Place your chosen plant or seeds into the soil.
You may need to trim the roots to fit using a small plant.
Step 5: Water Your Miniature Planter
Use a dropper or small spoon to gently water the plant.
Where to Use:
These miniature planters are versatile and can be placed virtually anywhere. Line them up on your kitchen window for an herb garden, use them as place settings for a garden party, or give thoughtful gifts to fellow wine and plant lovers. They're sure to spark smiles and conversations!
Wine Cork Trivet
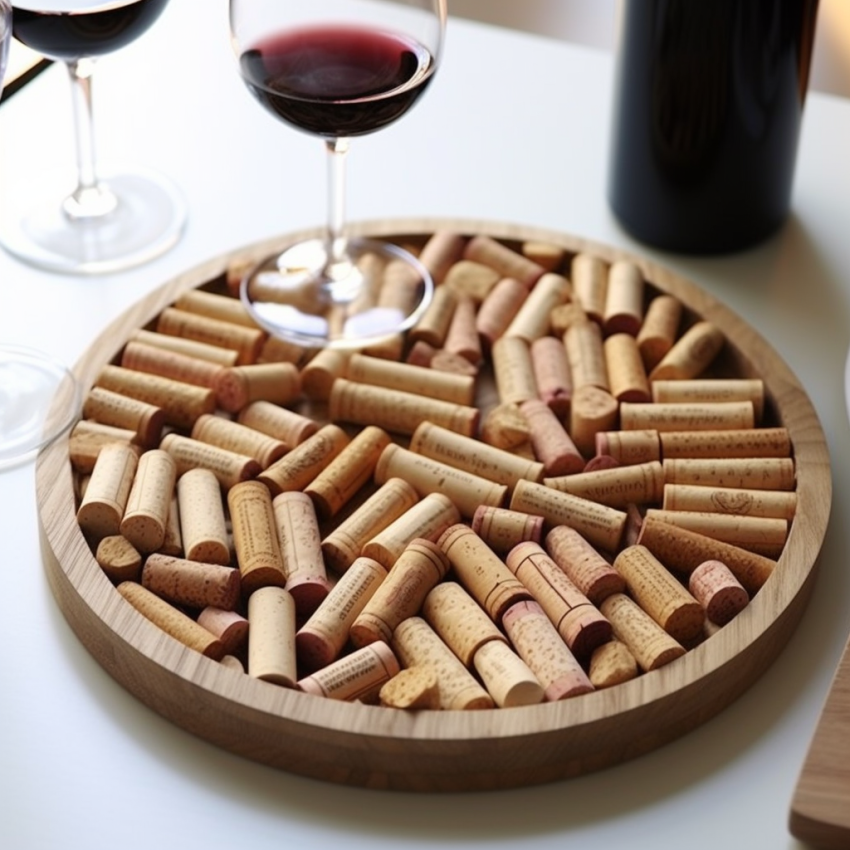
Need a place to rest that hot pot or fresh-out-of-the-oven dish? Why not create something that resonates with your love for wine? A wine cork trivet is a perfect blend of practicality and style.
Picture serving a steamy paella or a mouthwatering casserole on this trivet during a family dinner or a festive feast with friends.
Let's turn those wine corks into something with a lot of character!
Step 1: Gather Your Materials
Wine corks (around 20-30, depending on size)
Strong adhesive glue or a hot glue gun
A ribbon or twine (optional)
Step 2: Prepare the Corks
Arrange the corks for your trivet's desired shape, such as a circle, square, or rectangle.
Step 3: Glue the Corks Together
Apply the adhesive or hot glue to the sides of the corks, pressing them together according to your pattern.
Hold each cork in place briefly to ensure a strong bond.
Step 4: Add Decorative Touches (Optional)
Wrap a ribbon or twine around the trivet and secure it with glue to add a decorative edge.
Step 5: Let It Dry
Allow the glue to dry as per the instructions on the bottle.
Where to Use:
This wine cork trivet can be a kitchen staple or an eye-catching addition to a festive table setting. Imagine it as a centerpiece at a wine-tasting event or a thoughtful handmade gift for a friend who shares your love for wine. It's not just a trivet; it's a culinary art that reflects your personality and passion for wine.
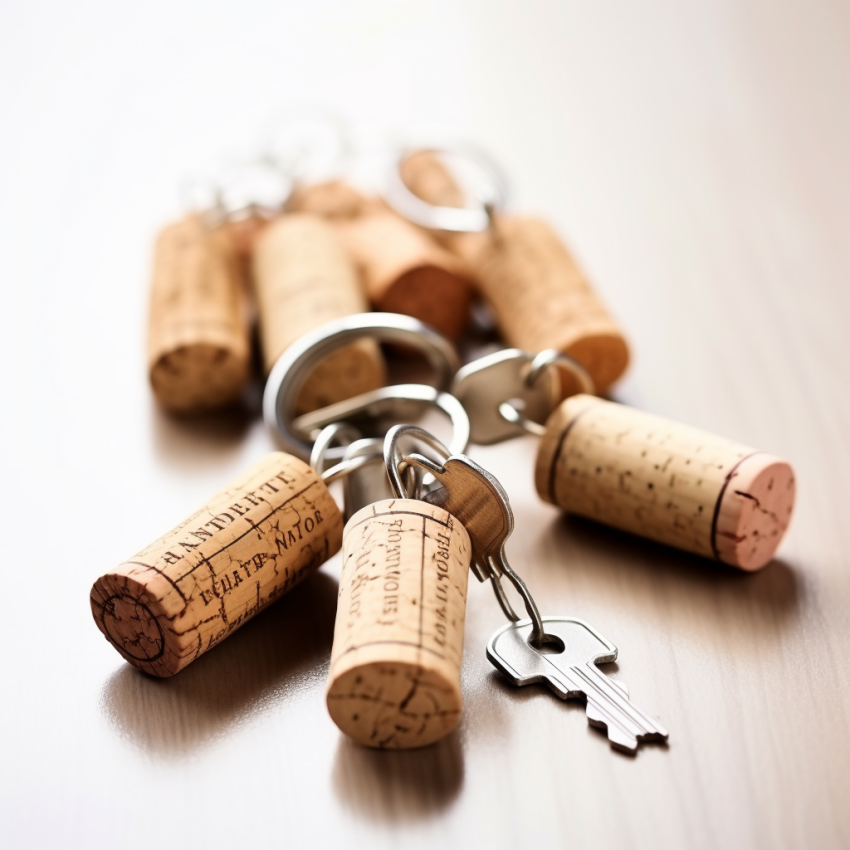
Wine Cork Keychains
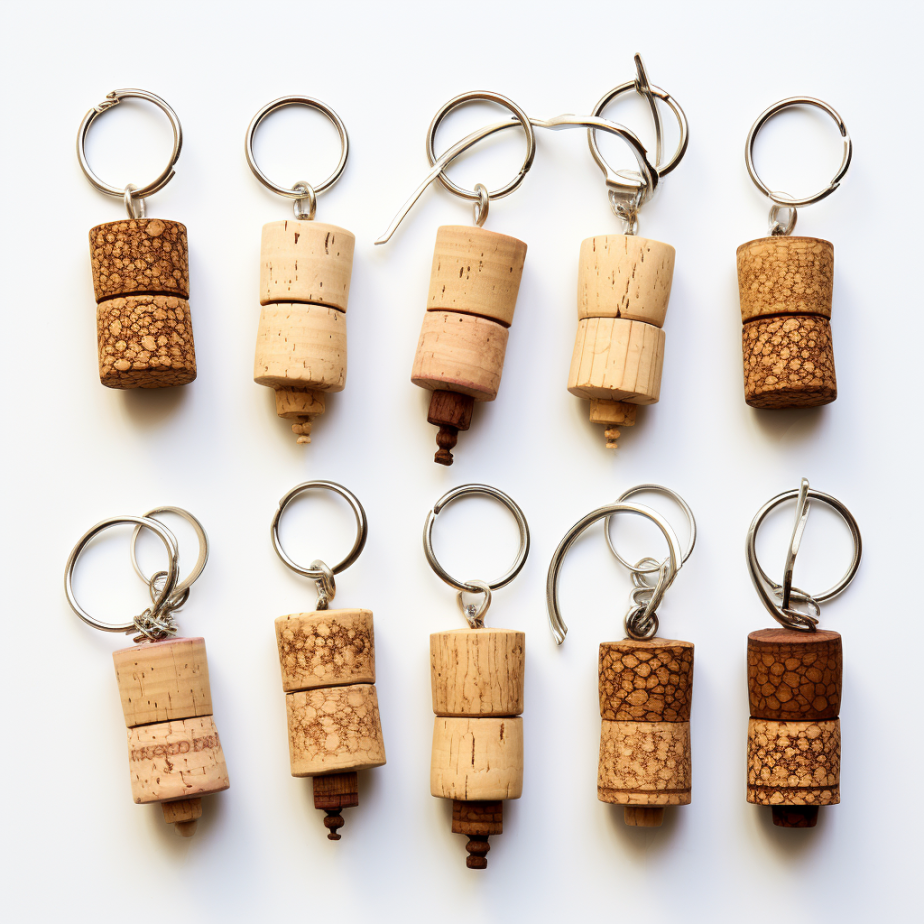
Searching for a small but memorable gift or a charming accessory that reflects your passion for wine? Look no further than wine cork keychains!
Imagine always having a piece of your favorite wine adorning your keys or bag.
They’re not just keychains but tiny treasures that remind you of memorable wine moments. Let's uncork this creative project!
Step 1: Gather Your Materials
Wine corks
Small eye screws
Keyrings
Decorative beads, charms, or labels (optional)
Step 2: Prepare the Cork
Screw the eye screw into one end of the cork, twisting gently until secure.
Step 3: Add Decorative Touches (Optional)
If desired, thread beads or attach charms to the eye screw to personalize your keychain.
Step 4: Attach the Key Ring
Slip the key ring through the eye screw to complete your keychain.
Step 5: Repeat for More Keychains
Create as many as you like for gifts or to keep for yourself.
Where to Use:
These wine cork keychains are fantastic as personalized tokens for friends, family, or guests at a wine-themed event. Imagine handing them out at your next wine tasting or as wedding favors.
They're a handy and heartwarming way to share your love for wine with others.
Wine Cork Birdhouse
Want to blend your love for wine with a passion for nature? Building a wine cork birdhouse is an enchanting way to do just that! Imagine this delightful birdhouse in your garden, a cozy haven for tiny feathered friends.
Every chirp and flutter brings joy, and the wine corks add a rustic charm to your outdoor space.
Let's embark on this heartwarming project!
Step 1: Gather Your Materials
Wine corks (around 50-70, depending on size)
A wooden or cardboard base for the birdhouse
Strong adhesive glue or a hot glue gun
Roofing material (e.g., wooden shingles, metal sheet)
A dowel or small perch
Step 2: Build the Walls
Glue the corks onto the base, creating the walls of the birdhouse. You can create patterns or simply line them up.
Step 3: Create the Roof
Attach the roofing material to the top, creating a slope to shelter the birdhouse.
Step 4: Add the Perch
Glue a dowel or small perch near the entrance of the birdhouse for birds to land on.
Step 5: Decorate (Optional)
Add any desired decorations like moss, twigs, or painted details.
Step 6: Hang or Place Your Birdhouse
Find the perfect spot in your garden or yard to hang or place the birdhouse.
Where to Use:
This wine cork birdhouse adds charm to any outdoor space. Imagine it in your garden, near a window, or as a gift for a fellow nature and wine lover. It's not just a birdhouse; it's a statement of creativity and love for wine and the world around us.
Conclusion
Wow, what a fun ride we've had with wine corks! From making cute keychains to building a home for our feathered friends, we've turned simple corks into something special. And the best part? You can do it too!
Not enough corks? No problem! You can find wine corks ready for crafting on Amazon, and you'll have everything you need to start your wine cork adventure.
So grab some corks, call friends, and have fun crafting. Your home will have a little extra sparkle, and you'll have some beautiful reminders of good wine and even better times.
Happy crafting, and cheers to fun and creativity! 🍷✨
Not; This blog post contains affiliate link

